Chromebooks come with a webcam like most other laptops or tablets. Some Chromebooks even have a rear-facing camera or a rotatable webcam. They are rather rare but can be useful to use the Chromebook as a point-and-shoot camera. For someone trying to take a selfie, portrait, or learn how to take a picture on Chromebook, this is a step-by-step guide on how to do so.
The default camera app on the Chromebook is more than sufficient to take photos or selfies and upload them to your Google Classroom, your next project, or whatever you are using the picture for. If you are looking to use your Chromebook as a camera, you have to confirm if it has a rear-facing camera or a swiveling webcammer.
How To Take A Picture On Chromebook
First, let’s see how to get into the camera app and take a quick picture. After that, we’ll go into much detail with regards to different features and tools available on the camera app or while editing it.
Accessing the camera App on Chrome OS
Press the search key on your Chromebook if there is one that should bring up the launcher and open the search features. Search for “camera”.
If not, just click on the launcher icon on the bottom-left corner of the screen and click on the arrow pointing upwards to expand it.
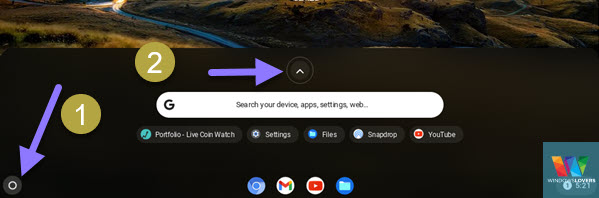
This opens up the app drawer similar to any phone. You should find the camera app in this app drawer, tap or click on it to open.
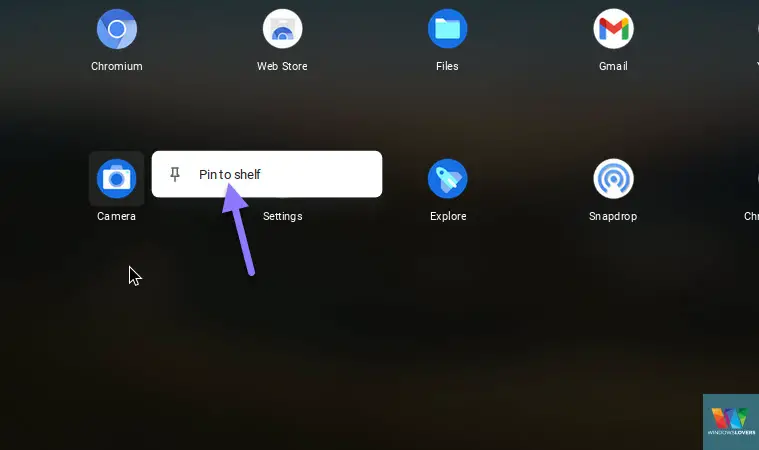
For ease of access, you can also pin the camera app to the shelf. Just right-click on the camera app > “Pin to Shelf”.
READ: Give Remote Control Access In A Google Meet Meeting
Taking a photo with the camera App
By default, the camera app always opens up in the picture mode unless changed by someone otherwise.
If you cannot see anything and there is no error message, make sure there is no physical privacy protection on the camera.
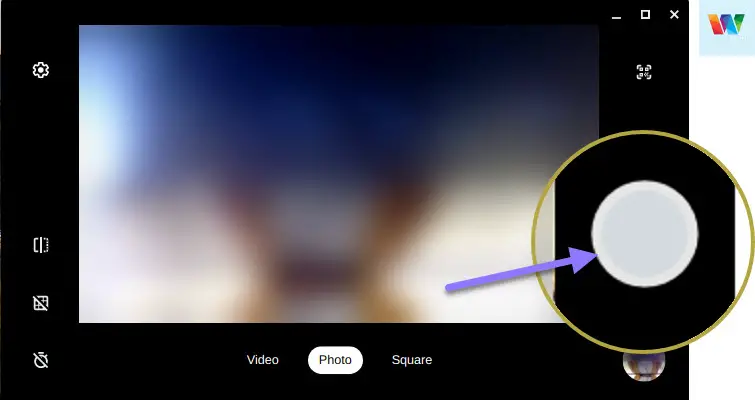
To take a photo tap on the grey circle on the right side of the screen. That is how you can take a picture on your Chromebook.
Now let’s learn about different tools and features on the camera tool.
Camera App Tools and Features
I will go through the buttons and features one by one, if you would like some more detailed information or have a query please leave them in the comment section below.
Shutter Button
Tap on this button to take a photo.
Mirroring
Using this feature will flip the subject and replicates the effect when someone is standing in front of the mirror and taking a picture of themselves.
READ: How To Block YouTube On Your Chromebook With Family Link
Grid Lines
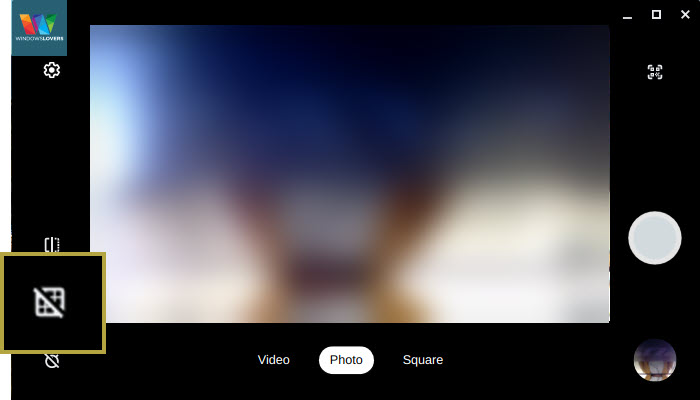
I always have this on if I am taking a photo that might be used for official purposes. The number of times I’ve taken a photo only to realize that the photo was crooked or off the center is insane.
Tap on the Grid feature and it overlays a set of lines that serve as a grid and helps you properly align the object or yourself when using the camera app to take a picture on your Chromebook.
Timer
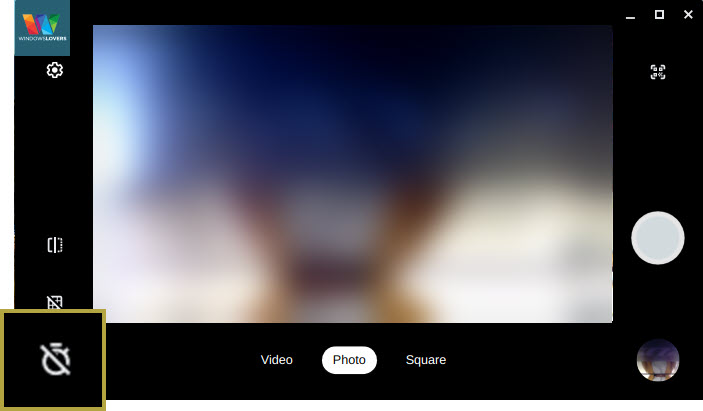
This is a handy feature if your Chromebook does not have a rear-facing or swiveling camera and you would like to take a group photo of photo of yourself instead of a selfie.
By default, the timer is set to go off after 3 seconds but you can increase that to 10 seconds from the settings which are mentioned below.
Click on the timer icon on the bottom-left corner of the screen and the icon changes to whatever time you have set the timer to. Click on the shutter and step away from the camera the count down will start and will take a photo at the end.
Square
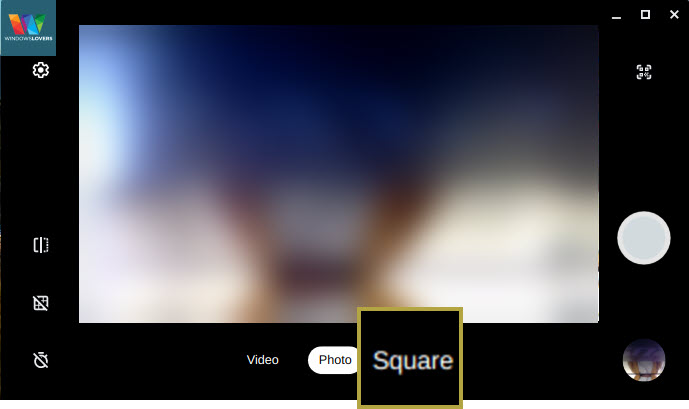
If you’ve seen the photos on Instagram, they are usually square. Depending on your camera’s resolution the default option will take a photo with the max resolution that the webcam supports.
I use the square mode if I am taking a portrait or a selfie that can be uploaded to social media sites.
Recent Images
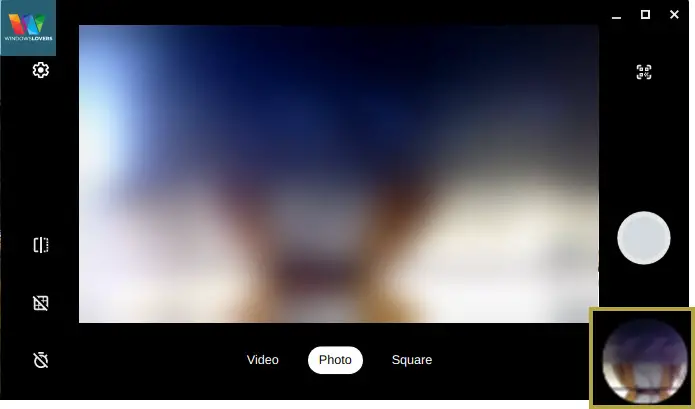
All the images that you’ve taken from the camera app can be quickly accessed by clicking on the images preview button on the bottom-right corner of the screen.
QR Code
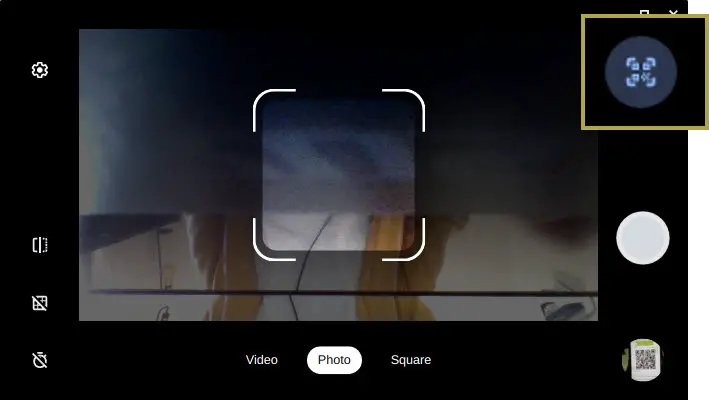
Yup, you can scan a QR code using your Chromebook. Tap on the QR Code feature and place the QR code inside the square that pops up in the center of the camera. Give it a few seconds to recognize the QR code and a link should pop up on the top which will take you to the designated webpage or actions.
Switch Camera Options
This option is only available for Chromebooks that either has two cameras or when you connect an external webcam to the Chromebook. Click on the button to switch between which camera to take the picture with.
It’s exactly like switching cameras on your mobile phone.
Camera App Settings
There are a couple of more settings and options that you can adjust inside the settings.

Grid type
There are three different grid types to choose from. 3 x 3, 4 x 4, or Golden ratio.
Timer Duration
By default, the timer is set to 3 seconds but you can adjust it to 10 seconds. Unfortunately, there are only two options to choose from, but it does the job at least.
Camera resolution
Depending on the type of camera and the brand of Chromebook you have, you can adjust the resolution of photos that the camera is taking these pictures on. Usually, higher resolution contributes to increased file size, so if you are looking to decrease the photo’s file size you might want to look into decreasing the resolution.
If you would like more information or help with the options, just click on the “Help” button at the bottom of the settings page. Which takes you to Chromebook’s help center for camera features.
Where Are These Pictures Saved?
While you are using the camera app, you can click on the preview button on the bottom-right corner to access the folder where all the pictures you’ve taken using your Chromebook are saved.
To access them later without getting into the camera app, open the Files app.
Click on the launcher icon in the bottom-left corner. You can either search for “Files” or click on the upwards pointing arrow to get to the app drawer.
Open “Files” and click on My files > Camera.
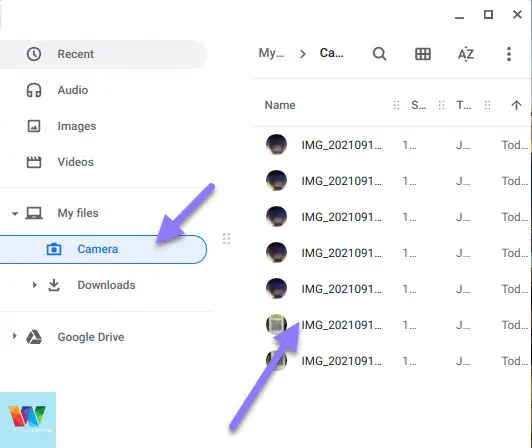
This will reveal all the photos you’ve taken using the camera app on your Chromebook.
Basic Photo Editing Features
The default photo viewing tool on your Chromebook allows you to do basic editing on your photos.
If you are someone that needs more in-depth features or filters this won’t be very useful to you.
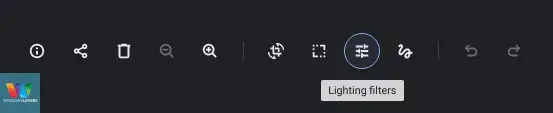
Open the photo and you will find all the tools and options on the top toolbar.
You are welcome to play around with other features, but one that I use to quickly fine-tune any photo before uploading is the “Lighting filters”.
Lighting filters allow you to adjust Exposure, Contrast, and Saturation. This is more than enough for me to give quick final touches to the image before posting it if required.
How Do You Take A Picture On Your Chromebook?
Lets us know in the comments below how do you use your Chromebook to take photos? There are lots of third-party camera app that do an awesome job at this but I feel the default camera is self-sufficient in most cases.
That’s how to take a picture on a Chromebook, please note that taking pictures and taking screenshots on Chromebook are two different things.