Windows 11 is not for everyone (yet). If you are looking to roll back to other versions after upgrading to Windows 11 recently, this is a step-by-step guide to create a Bootable USB drive on Windows 11 for a fresh installation of other OS.
In this guide, I am trying to create a Windows 7 bootable USB drive on Windows 11. I aim to use this USB to perform a fresh installation of Windows 7 on my old laptop.
There are numerous tools out there that one can use to create a bootable USB drive within Windows 11. Each tool serves its own purpose. So which tool you should use depends on which OS you are using and what files you already have locally available.
In this guide, I will be using Rufus as this application supports multiple OS and has a very simple UI and UX.
You will need to ISO the file of the operating system you are trying to create the Bootable USB for. For someone that also wants a tool that downloads the ISO, use wintoflash to create a bootable USB instead.
If you are not capable of acquiring the ISO file, use wintoflash to create a Bootable USB. Novicorp’s wintoflash allows its users to download the ISO file from within the app while creating Bootable USBs.
Create a Bootable Windows 7 USB Drive On Windows 11 With Rufus
Rufus is available as freeware and can be downloaded from their website directly. I already have a Windows 7 ISO file with me so this process will be quick.
Download Rufus – here
Among the different options available, I suggest you download the full version of the app instead the portable version.

Double click the “.exe” executable file for Rufus that you downloaded earlier.

This will take you to the creation wizard directly.
Don’t get overwhelmed by the different options available to you, simply select the following options.
- Device: USB drive where the ISO will be loaded to
- Boot selection: If you already have an ISO file, choose “Disk or ISO image (Please select)”. Alternatively, choose from other operating systems available on the list.
- SELECT: Click and select the ISO file for the operating system. I selected the Windows 7 ISO file
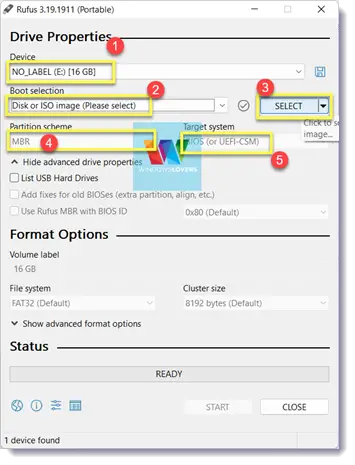
If you are trying to create a bootable Windows USB, select MBR under the Partition scheme and the “Target system” should automatically switch to BIOS (or UEFI-CSM).
Once you’ve checked the necessary settings for the operating system that you are trying to make a bootable USB for, click “START”.
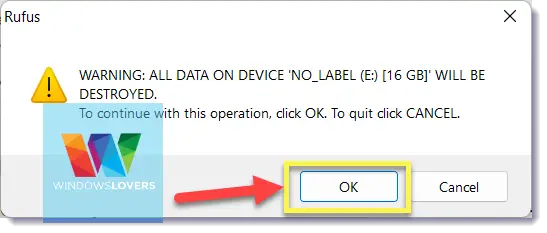
Make sure you do not have any important files on that as it will be difficult to recover files after deletion.
You will get a prompt stating all the data on that device will be destroyed.
Click on “OK”.
Give Rufus some time to extract the Windows 7 ISO file, write all the content to the USB drive and finally make that USB drive bootable.
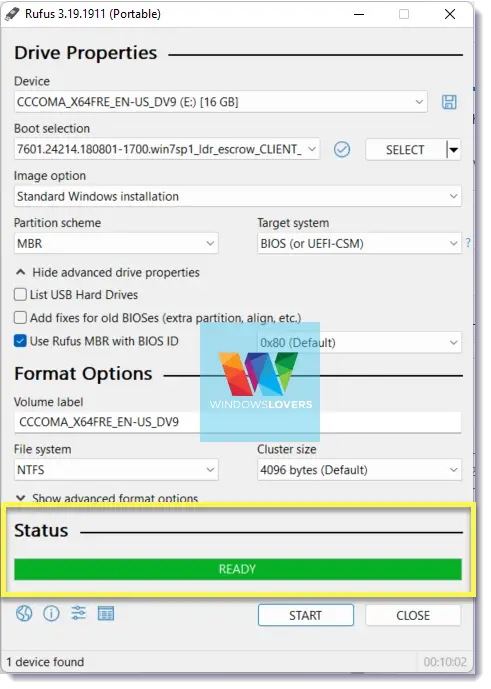
That’s how you can use Rufus and create a bootable Windows 7 USB drive in Windows 11 that you can use to do a fresh installation of Windows 7.