Nowadays most of Windows laptop comes with Realtek audio driver for the better sound quality. Unfortunately, there are over a hundred factors that can cause the audio drivers to fail. Most of the “Realtek audio driver not working” error occurs after the Windows upgrade.
Many OEM device brands use Realtek as their audio solution. Realtek is generally a direct medium for supplying users with high-quality Sound and audio solutions. It offers DTS, Dolby, and Surround Sound in high definitions. That’s the reason it’s the most commonly used sound driver on the market due to its useful features.
Realtek Audio Not Working On Windows 10: Fix
If your system is missing Realtek audio driver, then don’t worry. In this article, we will show you how to install Realtek audio driver in Windows 10. We will also see how we can get rid of some of the issues you may face with your audio driver.
How to Reinstall Realtek Audio Driver
If you are facing your older Realtek driver, you can upgrade that driver and your problem is still not solved then you can reinstall your driver. To reinstall your audio driver, follow the steps given below.
Step 1: First, you need to uninstall your driver. For that, click on the Win key + R button, which will open your ‘Run’ dialogue box.
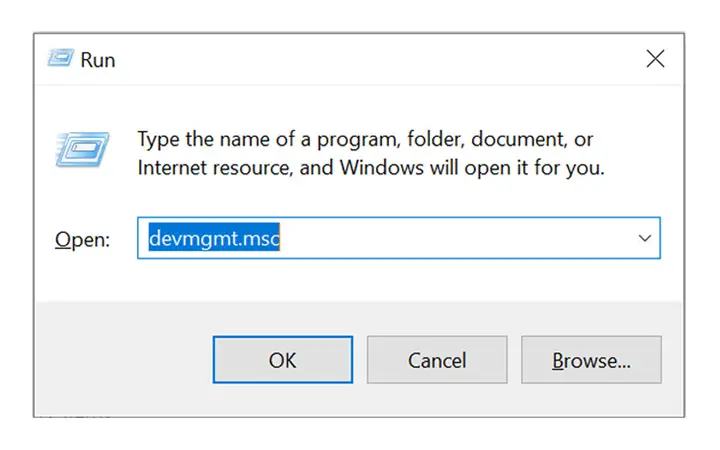
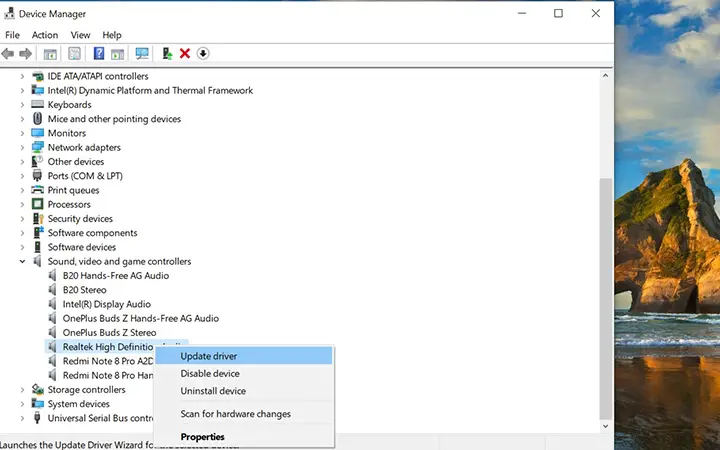
Step 2: In the ‘Run’ dialogue box, type ‘devmgmt.msc’ and press enter to open your device manager. Scroll down and look for ‘Sound, video and games controllers.’ Click to open the sub-menu, and there right-click on ‘Realtek High Definition Audio’ and select the ‘uninstall device’ option.
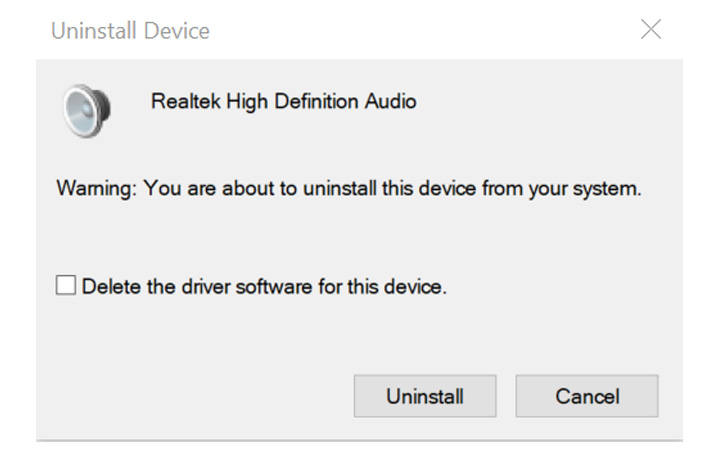
Step 3: After that, you will see a small form to tick the checkbox and then click on the ‘Uninstall’ button.
Step 4: Now restart your PC, and then let’s move towards installing a new driver.
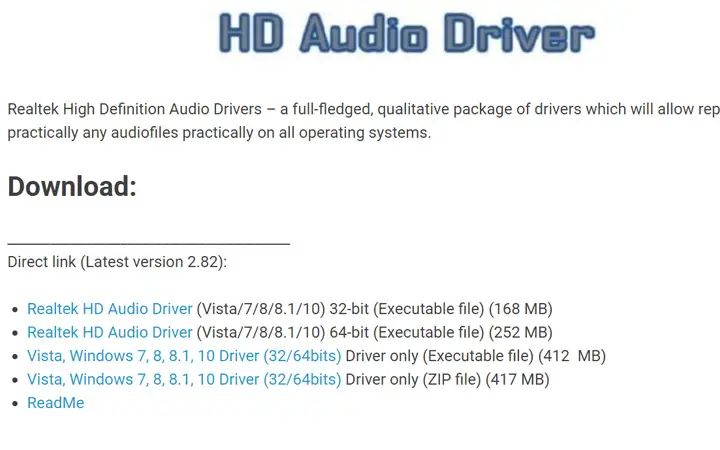
Step 5: To download a new Realtek audio driver, click here. After clicking, you will be redirected to the download page. From there, choose your device compatibility and download that driver.
Step 6: Once the download is complete, locate the setup file and then double click on that file to run the setup.
Step 7: Follow the instructions mention in the setup file, and then your driver will automatically start functioning.
Resolve Realtek Audio Driver Issue
You may never know when the error arrives. If some part of the driver is still missing or is having trouble opening it after reinstalling the Realtek HD Audio, try the following methods to solve your driver’s issue.
1.Check Startup in Task Manager
If your driver is not working, you can see whether your driver is enabled or disabled in the task manager. If it is disabled, you can solve your problem by simply enabling the audio driver. To look in the task manager, follow the following steps.
Step 1: Right-click on your taskbar and then select ‘Task Manager.’
Step 2: Then, in the task manager, go to ‘Startup’ and then select the ‘Startup’ option from the top navbar.
Step 3: In the startup, look for ‘Realtek HD Audio Manager and if the status is disabled, then enable the driver.
Step 4: Enable the driver by right-clicking on the driver and then selecting the ‘Enable’ option.
2.Check Windows Audio Service
Audio service should be suitable for the application of audio equipment. Consequently, if your PC’s Realtek audio unit isn’t running, there may be a problem with your system’s Windows Audio Operation. To resolve the issue, you must configure it. Following are the steps that you can follow.
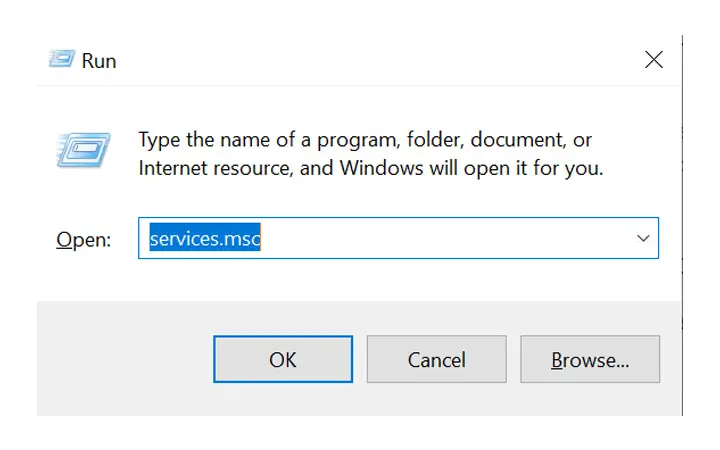
Step 1: On your Windows screen, press the Win key + R button.
Step 2: In the ‘Run’ dialogue box, type ‘services.msc’ and then click on the ok button.
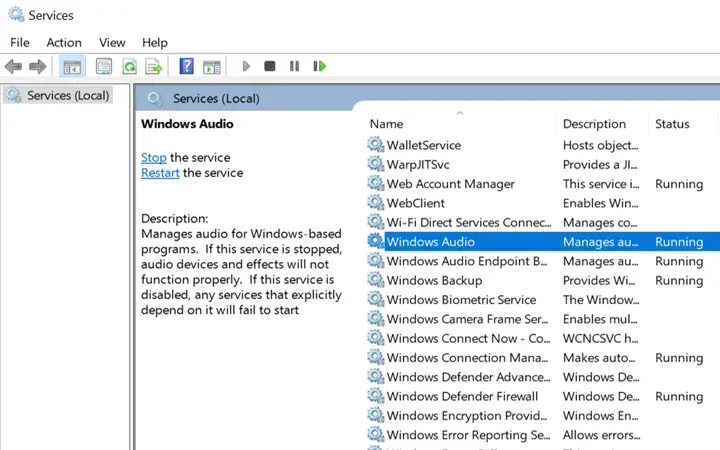
Step 3: In the services tab, look for ‘Windows Audio’ and double tap on that option to open its properties.
Step 4: In properties there, you can see startup type. There, select automatic from dropbox and then click on start. After that, save changes by clicking on the ok button.
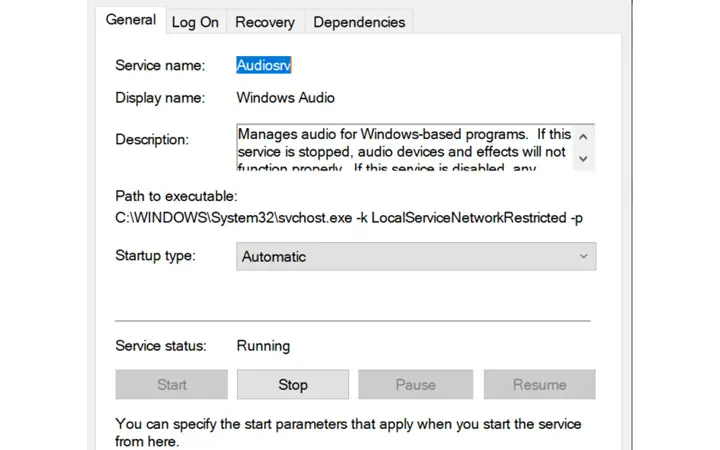
Step 5: If the startup type is already set to automatic, just restart the audio service. For that, right-click on the ‘Windows Audio’ and then select the ‘Restart’ option.
3.Update your Driver
Your audio driver may stop working because of the outdated version or because of the corrupt files. So to diagnose your driver problem and update your driver follow the following steps.
Step 1: First, you have to navigate your device manager tab. For that, press the Win key + R button on your Windows screen, which will open your ‘Run’ dialogue box.
Step 2: In the run dialogue box, type ‘devmgmt.msc’ and then click on the ok button.
Step 3: After opening the device manager, scroll down and then look for the ‘Sound, video and game controllers option.
Step 4: Click on that option to expand other sub-menus. If you see a yellow error sign in the ‘Realtek High Definition Audio’ option, then it indicates a problem with your driver software.
Step 5: To eliminate that problem, either you can reinstall your driver using the above method or update your driver by doing right-click on the driver option and then select ‘Update Driver.’
Summing Up
I hope from this article you can reinstall the Realtek audio driver and figure out some of the easy ways to solve the problem of the audio driver. If you are getting any issues with the audio driver, then one of the best methods is to reinstall or update the driver. And if you are still facing any Realtek audio problems with your audio driver, please leave your query in the comment section.
I recently experienced “no sound” from my speakers on an HP x360 Spectre (I assume and update affected it but not sure which one). After some digging found an article from 2018 that mentioned someone unchecked the enable enhanced audio option in the sound speaker properties. Tried this and the sound was back. I then rechecked the Enable audio enhancements box and the speakers still continued to produce sound.
Will continue monitoring this issue to determine if something I have to do each time I want to use the computer speakers.